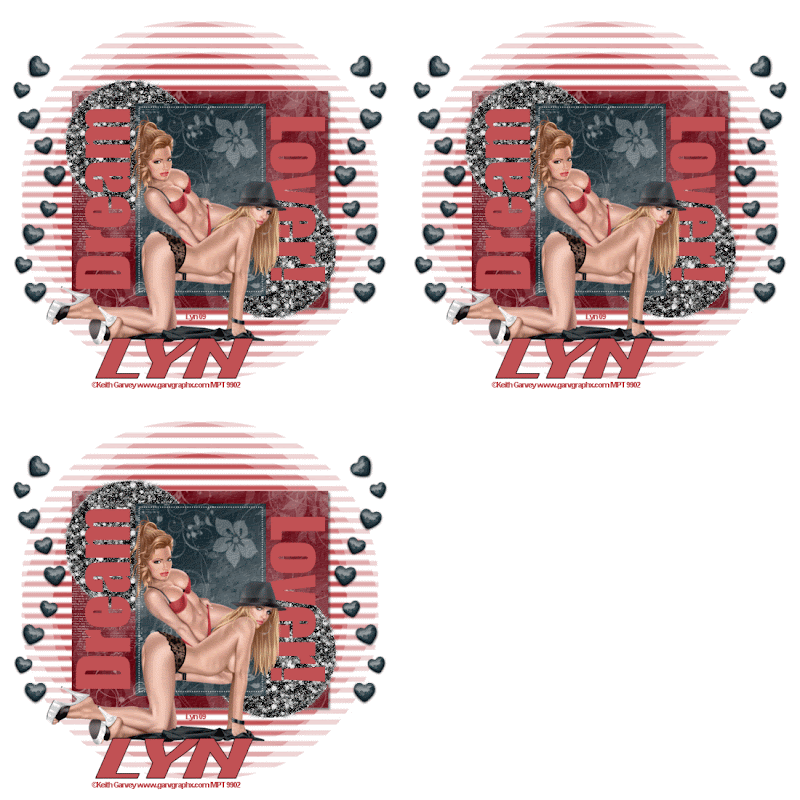
DREAM LOVER
This tutorial was written by me, and any resemblance to any other tutorial is purely coincidental
Supplies needed:
PSP (I used PSP 9)
Animation Shop
Filter used – Alien Skin – Xenofex 2
2 Tubes of choice from the same artist I am using the FANTASTIC!!! artwork of Keith Garvey if you wish to use his artwork then you need to purchase a license from http://www.mypsptubes.com HERE
The Scrap kit I used is by Vaybs of Designs By Vaybs…. thank you Vaybs and is called Roses (FTU) and you can get it HERE
The Template I used Missy_tagtemplate129 is by Missy of devineintentionz.blogspot.com and you get it HERE
The mask I used is WSL_Mask181 by weescotlass Chelle …..thank you again Chelle and you can get it HERE
My Supplies HERE
Drop shadow used throughout 3, 3, 50, 5 black
Okay lets get started
Open Tagtemplate 129 and Shift D to copy it and close the original, now click on the background layer and Image – Canvas size 700 x 700 and floodfill white. Delete the Watermark layer.
Open your supplies and minimise & put your Mask in your Mask folder
Click on the square layer in your layer palette and Selections – Select all – Selections – Float – Selections Defloat and copy and paste a paper of your choice I used Paper 3 from the kit, Selections – invert and hit the delete key on your keyboard, Delete the original Selections – None now do the same with Rectangle & Dotted Line.
Click on the Circle 1 and Selections – Select all – Layers – add a new raster layer and in your material palette click on the pattern tab and look for the glitter you would like to use and fill the circle with the Glitter Pattern, Selections – None & Delete the original layer do the same with Circle 2.
Click on the Wordart layer in your layer palette and Selections – Select all – Selections – Float – Selections – Defloat – Add a new raster layer and floodfill with a colour from the tube you are going to use then delete the original layer.
Right click on the top circle layer and – Merge down so your 2 circles are on one layer.
In your layer palette make the rectangle layer active and add your tube as a new layer resizing if necessary then click on your top layer and add your second tube again resizing if necessary.
Copy and paste the heartline from the kit and place it to the left of your Tag and I resized by 80% then – duplicate and mirror image.
Make the background layer active and floodfill with the same colour you used for the wordart and Layers – Load/Save Mask – Load Mask from Disk and look for Chelles Mask 181 and apply then in your layer palette right click on the Group layer and Merge Group
Add a dropshadow to all layers except the mask layer
Image – Resize to 550 x 550 smart size.
Add the artists copyright and then add your Name if using the same tube I used I placed my name as if the tube was resting on top of it.
If you are happy with your Tag as it is you can now save it as a Jpeg and your done, if you wish to animate it then carry on below.
ANIMATION
Click on the circles layer in your layer palette and Effects – Xenofex 2 – Constellation with these settings :
1.98
50
50
25
50
75
Keep Original Image – checked and apply then copy merged and take it to animation shop – Edit and paste as a new animation – * back in PSP and click undo then Effects – Xenofex 2 – Constellation and with the same settings hit the random button once and apply and copy merged and in AS – Edit and paste after current frame do the same again from *
View your Tag and if happy save as a Gif and your done.
Thank you for trying my tutorial and if you enjoyed it please leave me a thanks in my Cbox.
Lyn


No comments:
Post a Comment