Thursday 17 March 2011

MOONLIGHT BLUES

Photobucket

MOONLIGHT BLUES

This tutorial was written by me and any resemblance to any other tutorial is purely coincidental.

It would be nice if you let me know you have tried my tutorials I love to see what you do with them, send me a copy and I will add them to my slide show.

Supplies needed:

PSP (I used PSP 9) but should work on any
Animation Shop
Filters used: Alien Skin Xenofex 2 - Constellation


Tube of choice I am using the brilliant artwork of Ana Rasha which you can get HERE
The Scrap kit I used is by A Taggers Scrap and it’s part of a Blog train called called Spring Break (FTU) and you can get it from: HERE
The mask I used is again from Chelle weescotslass and its WSL_222 and you can get it: HERE

Okay lets get started

Open a new image 700 x 700 we can resize later flood fill white

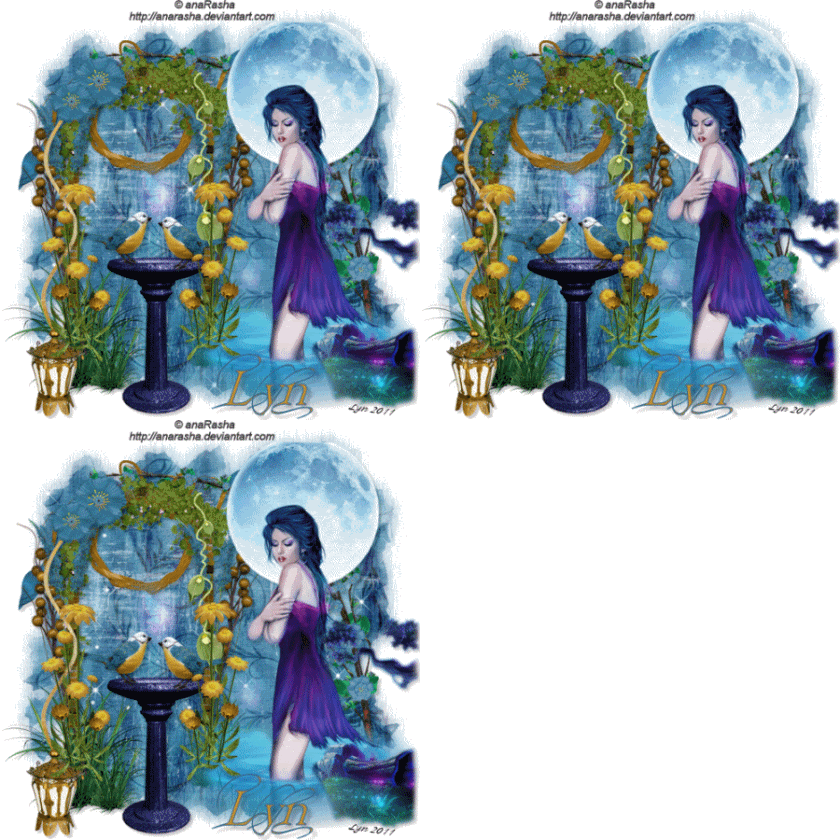
Copy & Paste the Doorway Element (arch) and move it to the left then add the grass element to the left of the Arch then duplicate it and resize by 50% and move that one to the right of the Arch then add flower1 resizing it by 80% duplicate & image – mirror place each at the bottom of both posts of the Arch, do the same with the daisy, Deco1 and resize Deco 1 by 60% Then click on the Layer under the Doorway Layer and copy and paste Deco3 (see mine for reference) then copy & paste the Lantern and place it at the left post of the doorway, copy & paste flower 3 resizing it by 60% and duplicate it and resize that one by 80% and place both at the top of the archway slightly to the left, copy & paste the birdbath and resize it by 80% and place it under the archway and add the bird resizing it by 60% duplicate and resize by 80% and place them how you like on the birdbath now add the branch turn it to how you think it looks best.
Now open up the Ana Rasha tube you will notice there are other layers for background you don’t have to use them if you don’t want to I did just copy & paste what elements you want to use and place them where you think looks best then copy & paste the tube placing her to the right of the Tag and resize by 80%.

OK now click on the bottom layer in your layers palette and copy & paste Paper 2 then Layers – Load/Save Mask – Load mask from Disk and look for WSL_222 mask and select it with settings : Fit to canvas – Source Luminance – Hide all mask all checked and click ok. Now click on Group in the layers palette and right click Merge Group.Dropshadow every Element and the Tube with settings 5, 5, 20, 5 - Colour : Black
Image – Resize – All Layers checked 500 x 500 Smart size

Add the artists copyright and your watermark then add your name I used the Font Al Fantasy Type choosing colours to compliment your Tag with a stroke of 1 then drop shadow.

Animation

X out your Mask layer in your Layers Palette and click on the top layer and merge down all layers now un X the Mask layer and and making sure the Mask Layer is the one selected Effects – Alien Skin Xenofex 2 – Constellation with settings :

Star size: 7.13
Variation: 35
Edge: 2
Density: 1
Overdrive : 100
Twinkle amount : 88
Rotation : 45
Keep Original Image : checked
click okay then Copy Merged and take it over to AS and Edit – Paste as a new animation now back in PSP click undo once and do it again and click the random seed button and again Copy Merged and take it to AS and Edit – Paste after the current frame then back to PSP and click the Random seed again and ok and Copy Merged and take it to AS and Edit paste after the current frame you now have 3 frames click on the first frame and Edit – Select all then Animation – Animation properties check the opaque box and change the colour to white click okay then Animation – Frame properties and change the number to 35.

View your Tag and if happy save as a Gif.

Thank you for trying my tutorial.

Lyn
Friday 11 March 2011

Photobucket

HAPPY MOTHERS DAY


This tutorial was written by me, and any resemblance to any other tutorial is purely coincidental

Supplies needed:

PSP (I used PSP 9)

The Scrap kit I used is from Lacarolita’s Designz" …. thank you Lacarolita and is called Spring is Here (FTU) and you can get it HERE
The mask I used is from weescotslass Chelle WSL_Mask 346 many thanks Chelle and you can get it HERE

Open a new image 700 x 700 (we can resize later) flood fill white

This is a very quick and easy tutorial and I hope you enjoy it.

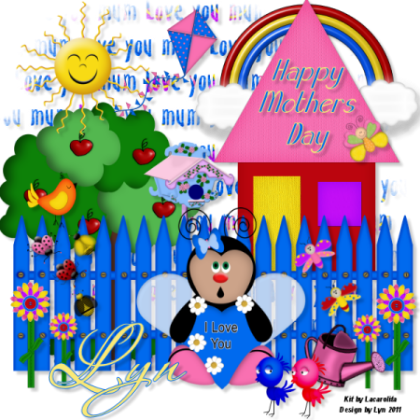
Copy and paste a paper of choice I used Paper 4 and apply WSL_Mask 346 in layer palette right click and merge group resize, copy and paste fence 2 from the scrapkit placing it to the left then resize by 50% and duplicate and mirror make the fence join in the middle and drop shadow with settings 5, 5, 20, 5, colour #000000

Now copy and paste whatever elements you want resizing and drop shadow using the same settings. I used Behind the fence : house 1, tree1, birdhouse1, rainbow 1, sun 1, kite 2 and butterfly 4 in front of the fence I used : Flower 1 which I duplicated 3 times and resized one 20% smaller than the other, wateringpot 1, bee 1,2,3, bird 1, chicken 1, 2, butterfly 1, 2, 3 and ladybug 1 & 2.

I then typed Happy Mothers Day using my text tool on the roof of house using font Blue Melody size 28 with a stroke of 1 and I chose 2 colours from the Tag.
Then Layers, merge, merge visible.


You can resize now I use 500 x 500

Add your name to the Tag the font I used was Aquarelle and add the scrapkit’s copyright and your own design mark and your done


Thank you for trying my tutorial.

Lyn
Sunday 28 February 2010

SPRING IS IN THE AIR

Photobucket

SPRING IS IN THE AIR

This tutorial was written by me, and any resemblance to any other tutorial is purely coincidental

Supplies needed:

PSP (I used PSP 9)
Animation Shop

My supplies : Wordart HERE
Tube of choice I am using the fantastic artwork of Jessica Dougherty if you wish to use her artwork then you need to purchase a license from CILM
Filters:

DSB Flux – Bright Noise

FTU Scrap Kit by Doris called Longing for Spring at http://scrapsdimensions-dorisnilsa.blogspot.comThe mask I used is WSL_Mask192 another great one from our Chelle at http://weescotslasscreations.blogspot.com/ thank you yet again Chelle

Open a 700 x 700 new image and flood fill white
Copy & Paste Paper 8 then Layers – Load/Save Mask – Load mask from disc and look for WSL_mask192 and apply then right click on your group layer
And merge group
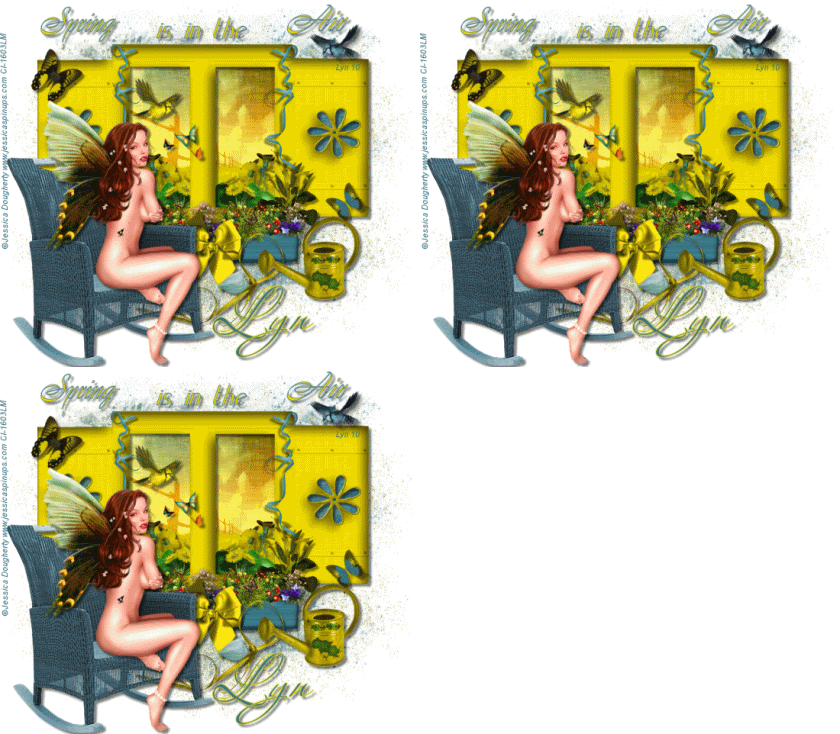
Open Window 2 from the kit and copy and paste it on top of
your mask I resized it by 80% and click inside the frame with your magic wand
then Selections – modify and expand by 4 add a new layer and copy and paste
a paper of your choice into Selection, I used paper 12 then drop the paper under
your frame layer click back on your frame layer I then selected the daisy bits on the side of the windows by clicking in each space with my magic wand till they are all selected and Selections – Modify and expand by 2 then I copied and pasted Paper 3 again hit delete on your keyboard and drop this layer under your frame layer now click back on the window layer and drop shadow the window I used 5, 5, 50,5 black but it’s your choice

Now copy & paste the window box Flowers for window 1 I resized it by 30%and placed it just under the right of the window, duplicate it and mirror image so you have the 2 window boxes sitting under both panes of the window (see mine for reference)

Now Copy & Paste Bow 4 I resized it by 20% and placed it in between the window boxes, now click on the window layer in your layers palette and copy & paste whatever flower Elements you want to I used Calla Lily 1, Flowers 2 and flowers 6 and resized them by 20% place them how you think they look best then copy & paste Ribbon 3 resizing by 40% place to the right of the window and Duplicate then mirror
Now copy and paste the Rocking Chair and resizing it by 40% then place it to the left of the window now copy & paste the cluster ribbon and I resized this by 40% and placed it at the bottom of the window slightly behind the rocking chair. Copy & Paste the watering can I mirrored it and resized by 30% placing it to the bottom right of the window I then copy & pasted Both birds resizing them by 20% and placed one top right of the window and the other inside of the left window pane of course you can do it any way you like move them around and place them where you think it looks best I also Copy & pasted a few of the butterflies and resized them by 10% place them where you think looks best, unfortunately unless you are using the same Tube as me then you won’t have the butterflies that I used in the centre of the window as they come with the tube but you can always just resize some more of the butterflies from the kit and place them similarly to mine now copy & paste your tube and place her sitting on the rocking chair.

Give everything a drop shadow I use 5, 5, 50, 5 – black

Add the wordart – Spring is in the Air – now resize 500 x 500 using smart size

Now add the artists copyright and your name

Click on your mask layer and copy and paste Pollen Dust 2 and place it to the right so it shows at the side of the window now duplicate it and mirror click on the duplicated layer in your layer palette and merge down so both pollen dust layers are on the one layer. Now if you don’t wish to animate and you are happy with your Tag then Merge & Flatten and save as a Jpeg and your done.


ANIMATION

Click on the Pollen Dust layer in your layer palette and Effects – plug ins and
DSB Bright noise set at 40 click on mix once and copy merged
and take it to animation shop and paste as new animation, back to
psp and click undo once then DSB Bright noise but click on mix
twice this time and copy merged and into animation shop and edit
paste after current frame, back in psp and again click undo once
and DSB Bright Noise and click on mix three times then copy
merged and take it to animation shop and paste after current frame

Edit – Select all, Animation Properties – make sure Opaque is checked and change the colour to white now view your animation and if your happy Save as a Gif and your done.

I hope you enjoyed this tutorial and thank you for visiting my Tutorial site I hope you will come back again

Sunday 31 January 2010

A LITTLE TENDERNESS

Photobucket

A LITTLE TENDERNESS

This tutorial was written by me, and any resemblance to any other tutorial is purely coincidental

Supplies needed:

PSP (I used PSP 9)
Animation Shop

Tube of choice I am using the beautiful artwork of Barbara Jensen if you wish to use her artwork then you need to purchase a license from www.eroticartistgallery.com

The Scrap kit I used is by Doris of Scrap Dimensions …. thank you Doris and is called Diamond Blues (FTU) and you can get it
http://scrapsdimensions-dorisnilsa.blogspot.com

The mask I used is Zuzzanna_mask40 by Zuzzanna and you can get it http://www.zuzzanna.dk/mask.html

Supplies by me : HERE

Unzip your supplies and put the masks into your mask folder

Open a new Image 700 x 700 and flood fill white
Copy and paste paper 6 from the kit (or choose your own)
then Layers – Load/Save Mask – Load mask from disk and look
for Zuzzanna_mask40 and okay, right click the group layer in your layer palette and merge group.

Open SD DB Pin 3 from the scrapkit and using your eraser tool erase the pin part so that you are left with only the heart and copy and paste the heart on top of the mask and resize it by 200% then Adjust – Sharpness – Sharpen now open the Diamond heart from the supplies and copy and paste it on top of the heart then open SD DB Pin 2 and using the freehand selection tool go round the glitter and copy and paste the glitter onto the diamond heart use the Raster Deform tool to stretch it to fit inside the diamond heart now in your layer palette drop the glitter layer under the diamond heart layer and drop shadow the diamond heart.

Copy and paste SD DB Rose resize by 25% and using your Raster Deform tool turn it upside down and erase away the stem do the same with SD DB Rose 2 & SD DB Rose 4 give them all a drop shadow and group them together to make a bunch (see mine for reference)

Copy and paste your tube and drop shadow and if your using the same tube as me I went round the bottom of her legs with the freehand selection tool and then Selections – Modify then Feather and set it to 30 then hit delete on your keyboard to give you a misted effect.


You can add and resize any elements of your choice.

Resize all layers using Smart size to 500 x 500

Add the artists copyright and watermark then add your name I used font Aquarelle with a stroke of 1 *

If you are happy with your Tag and don’t wish to animate then Layers and merge & flatten and save as a Jpeg and your done if you would like to animate your Tag then carry on below.

Animation

From *

Copy Merged and take your image to Animation Shop and Edit – paste as a new animation then Edit – Duplicate Selected and keep doing this till you have 12 Frames then Edit – Select all

Open up Lyns Heart Bling and Edit – Select all then Edit – Copy go back to your image and Edit – Paste into Selected frame and place the bling coming away from her heart area.

Edit- select all then Animation, animation properties, click opaque and colour white and okay, view your animation and if happy save as a GIF and your done.

Many thanks for trying my tutorial, I hope you enjoyed it.

Lyn