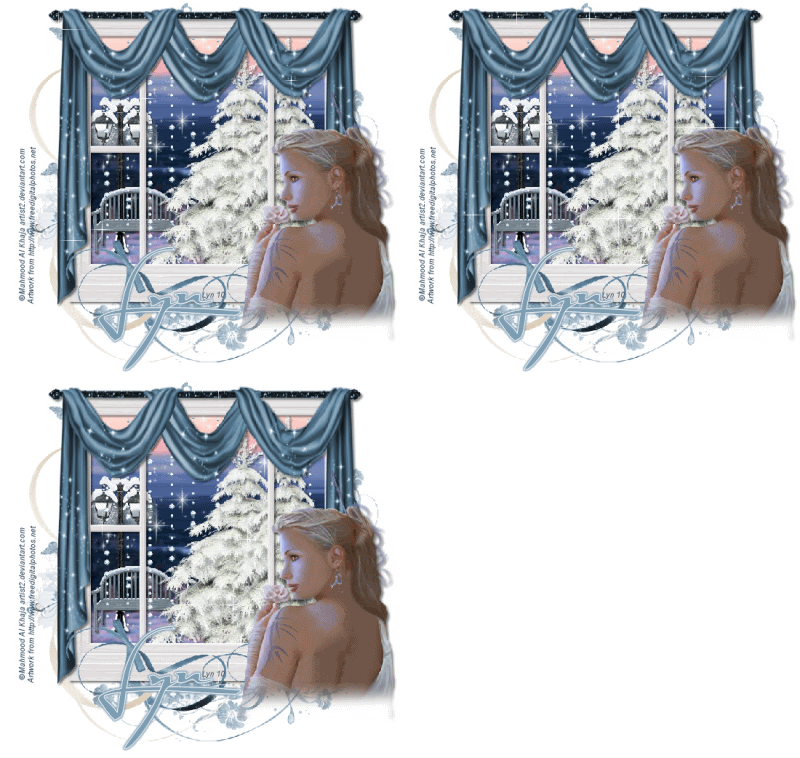
WINTER BLUES
This tutorial was written by me and any resemblance to any other tutorial is purely coincidental.
This is a similar version to my Header hope you like it.
It would be nice if you let me know you have tried my tutorials I love to see what you do with them, send me a copy and I will add them to my slide show.
Supplies needed:
PSP (I used PSP 9) but should work on any
Animation Shop
Filters used: VM Natural – Sparkle
Eyecandy 4000 – Gradient Glow
Tube of choice I am using the brilliant artwork of Mahmood Al Khaja if you would like to use his artwork please write and ask him for permission
http://artist2.deviantart.com/
The Scrap kit I used is by Tamie and it’s part of a Blog train called called Winter Wishes (FTU) and you can get it from: http://addictivepleasures.blogspot.com/search/label/FREEBIESThe mask I used is Vix_Maskbutterfly&stars and you can get it at: http://vixpsp.blogspot.com/search/label/Masks
Artwork used in the window came from http://www.freedigitalphotos.net/
Okay lets get started
Open a new image 700 x 700 we can resize later flood fill white
Copy & Paste the window element I resized by 80%and moved it up to the left now with your magic wand click in the panes of the window Selections – Modify and Expand by 4 add a new Raster layer and copy and paste into selection the scenic winter image you have chosen to use– then Selections – invert and press delete on your keyboard - Select none and drop the image below the frame and drop shadow the frame.
Now click on and make active your image layer and Copy and Paste the tree and tree 2 elements I resized them by 80% twice and move them to the right of the window and drop shadow them now click on your background layer and copy and paste a paper of choice I used Paper 10 then Layers – Load/Save Mask – Load Mask from Disk and locate Vix_Mask butterfly&stars and okay make the group layer active in your layer palette and right click and merge group (stretch the mask as necessary using the Raster Deform tool so it shows on all sides below the frame) now copy and paste swirlribbon and swirlribbon2 move them around till you are happy with how it looks then make your image the active layer copy and paste the lamppost2 resizing it by 50% and then by 80% and place it to the left of the window then cop & paste the bench resizing it by 50% twice and place it in front of the lamppost (see mine for reference) now copy and paste the sparklesheet element and then copy and paste the diamondrain element resizing it by 80% and placing it from the top of the window.
Make the window layer active which should be your top layer in your layer palette and copy and paste the curtain and using your raster deform tool adjust it till it frames your window then copy and paste ribbon6 resizing it by 50% and place it at the bottom of the window frame now add your tube and place her to the right of the frame I feathered the bottom of the tube if you would like to do the same click on your free selection tool and draw round the bottom of your tube till it’s selected then Selections – Modify – Feather I set it to 30 and hit your delete button once then Select none and drop shadow
Image – Resize – All Layers checked 500 x 500 Smart size
Add the artists copyright and your watermark then add your name I used the Font Al Sandra choosing a colour from your tube with a stroke of 1 I then added a gradient glow 3, 25, 100 in the main colour then drop shadow.
Animation
Merge down all layers from your window frame to the background and Effects – VM Natural – Sparkle and on the default settings click okay the Copy Merged and take it over to AS and Edit – Paste as a new animation now back in PSP click undo once and again Effects – VM Natural Sparkle but move the random seed slider to 73 then okay and again Copy Merged and take it to AS and Edit – Paste after the current frame then back to PSP and do it again but change the Random seed slider to 225 and Copy Merged and take it to AS and Edit paste after the current frame now have 3 frames click on the first frame and Edit – Select all then Animation – Animation properties check the opaque box and change the colour to white click okay then Animation – Frame properties and change the number to 35.
View your Tag and if happy save as a Gif.
Thank you for trying my tutorial.
Lyn


No comments:
Post a Comment