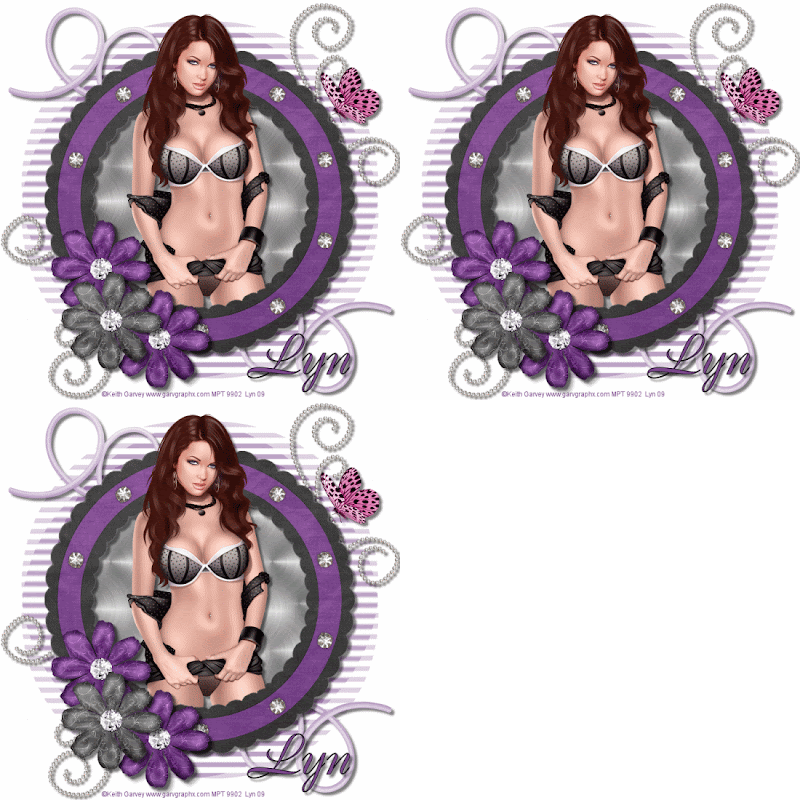
ALL THAT GLITTERS
This tutorial was written by me, and any resemblance to any other tutorial is purely coincidental
Supplies needed:
PSP (I used PSP 9)
Animation Shop
Tube of choice I am using the FANTASTIC artwork of Keith Garvey if you wish to use his artwork then you need to purchase a license from MPT
The Scrap kit I used is by Yvette …. Thanks Yvette….at misfits scrapz and is called Bling A Ling(FTU) and you can get it HERE
The mask I used WSL_Mask 181 and you can get it HERE
Filters used:
Eye Candy 5 – impact – brushed metal
Unzip your supplies and put the mask into your mask folder
Drop shadow used throughout 5, 5, 50, 5
Open a new image 700 x 700 we can resize later flood fill white
Copy and paste paper 4 from the kit or a paper of your choice
Layers – Load/save mask – Load mask from disk and look for the mask WSL_Mask 181 in the drop down menu and apply in your layer palette right click on the group layer and merge group.
Copy and paste the BlingALing Frame 3 and click inside it with your magic wand then Selections – Modify and Expand by 4 and copy and paste paper 1 then Selections – Invert and hit delete on your keyboard – Selections – None, move the paper layer under the frame and rename this layer Back in your layer palette and drop shadow the frame.
Copy and paste your tube and Duplicate it now move the duplicated one below your frame layer and then click on the top tube layer and using your eraser delete the parts overlapping the frame add a drop shadow to the tube below the frame.
Add and resize ( I resized by 50%) any elements of your choice or (see mine for reference) adding a drop shadow to them all, I added the glitter doodle and placed it top right under the frame duplicated it then mirror and flip and I did the same with the BlingALing tiedstring 1 placing it top left and mirror and flip I then merged the 2 glitter doodles together and renamed this layer glitter doodle in the layer palette.
Image resize to 500 x 500 using smartsize and with resize all layers checked then type out your name in a scripty font of your choice and add the artists copyright and watermark.
If you are happy with your Tag as it is now then save as a Jpeg and your done……… if you would like to animate your Tag then carry on below.
If like me you added the flowers with the diamonds then merge them down together and rename the layer flowers.
Now you have 4 layers named :
Flowers
Frame
Back
Glitter Doodle
Make your flower layer active in the layer palette and with your magic wand and the shift key held down slect the diamond on the flowers back to your layer palette click on Frame and still holding your shift key down select the diamonds on the frame, click on your glitter doodle layer and go to Adjust – Add/Remove Noise with guassian and monochrome checked and noise set to 25% click ok then click on the frame layer and do the same again and again on the flower layer then Selections None.
Click on the Layer Back in your layer palette and Effects – Plugins – Alien Skin Eye Candy 5 Impact – Brushed Metal Settings – Basic Tab as below:
Hand Brushed – checked
Direction – O
Metal Colour – silver grey
50, 40, 23.62, 118.11, 60, 45
and okay then copy merged and take it to animation shop and Edit – paste as a new animation then ** back in PSP undo all that you have done on the Flowers, Frame and Glitter doodle and the Back but Keep selected and Image Add/Remove noise again but change the noise to 30% and do it all over again to each layer and when it comes to the BACK leave all settings as they are and just click the random button and copy merged and take it to animation shop and Edit – paste after current frame and do the same again from ** right in animation shop click on animation – animation properties and with opaque checked and change the colour to white and okay View your Tag and if happy save as a GIF and your done.


No comments:
Post a Comment